Pages
If you have a Shopify online store, then you can create pages in your Shopify admin. Pages contain information that rarely changes or that customers will reference often, such as an "About Us" page or a "Contact Us" page. Learn more about what to include in an "About Us" page.
You can also add a blog to your online store to update your customers about your business and products.
On this page
Add a new page to your online store
Add content to a page
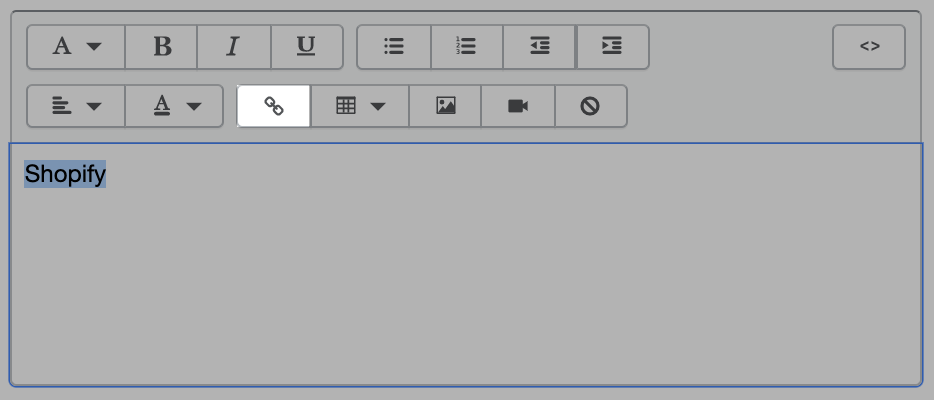
The rich text editor displays text in the Content field in the same style that it displays on your store. You can format your text and change the text color by choosing options in the rich text editor. You can also insert the following elements into a page:
- links
- tables
- images
- videos
Learn more about the rich text editor.
To edit the HTML code for the page, click the Show HTML button to view the HTML and make changes:

Add a link to a page
You can add a link to a page to direct customers to another page in your online store or elsewhere on the internet.
Steps:
- In the Content field, enter text to transform into a link.
- Highlight the link text, and then click the Insert link button:
Add a Google map to a page
You can add a Google map for an address to a page in your online store. For example, it's a good idea to add a map to your About us page to display your retail location:
- In Google Maps, enter the address you want to map.
- Click the Share icon to open sharing options.
- Click Embed map to create your embed code.
- Choose the map size you want, then copy the code in the text box. The code begins with
<iframe src=and is a tag written in HTML which embeds the map.
- Click the title of the page where you want to display your map.
- In the Content toolbar, click the Show HTML button to view HTML code for your page:
- Paste the code that you copied from Google Maps into the Content box. You can embed the map at the bottom of your page by pasting the code after any existing content, or elsewhere on your page.
- Click Show Editor to switch back to the page editor from the HTML viewer and preview your map.
- Click Save.
Automatically generate content for a page
You can use Shopify Magic to automatically generate a title and content for your page. By default, American English is the dialect used for content suggestions. The language data that AI uses is largely from North American sources, so generated content might contain vocabulary and expressions that are local to that region. You can change any part of the content suggestions to match what your customers would expect.
Shopify Magic generates only the text for your pages. Any other interactive elements can be manually added. For example, if you are creating a contact page, then you might need to use custom code to create a functional contact form.
Steps:
- From your Shopify admin, go to Online Store > Pages.
- Click Add page.
- Do any of the following:
- To generate a page title, in the Title field, click the Generate text icon, and then write a description of what the page is about.
- To generate page content, in the rich text editor of the Content section, click the Generate text icon, and then complete the following steps:
- Write a description of what the page is about.
- Optional: Select a new tone from the Tone drop-down menu. Learn more about choosing a tone.
- Optional: Click the Special instructions icon and write any additional instructions that you want to add in the Special instructions field. Refer to Using special instructions for information about the types of instructions you can provide.
- Click Generate.
- Optional: Do any of the following:
- Click Generate again to view the different results.
- Select a different tone or modify your prompt, and then click Generate again.
- Click Keep to add the suggested content to your page.
- Optional: Edit and format the generated content to match your brand.
- Click Save.
After you generate content for a page, you can complete the remaining steps to add a new page to publish it to your online store.
Edit a page
If you want to correct typos, add new information, or make changes to content, then you can edit a page.
Steps:
- Click the title of the page.
- Make your changes to the existing page content or settings.
- Click Save. Visit the page in your online store to make sure the changes display properly. You might have to reload the browser to view saved changes.
Edit the search engine listing for a page
You can edit the way that your page displays in search engine results to help customers find your page and encourage them to click the link.
Steps:
Click the title of the page.
In the Search engine listing section, click Edit.
In the Page title field, enter a descriptive title. This title will display as a link in search engine results. You can enter up to 70 characters in the title.
Enter a Meta description for the search engine listing. Make sure to include relevant keywords for your product to help new customers find your link. You might also want to include your business name. You can enter up to 320 characters in the description.
- In the URL and handle section, you can edit the web address. In most cases, you won't need to make changes to the web address. If you do make changes, then make sure that you set up URL redirects from the old web address. The URL can't contain any spaces. Handles are used in theme design.
- Click Save.
Delete a page
- Click the title of the page that you want to delete.
- Click the Delete page.
- Click Delete.
If you delete a page that you use in your store's navigation, then the associated menu item is also deleted. For example, if you delete a Wholesale Inquiries page that you use in a Wholesale menu item, then both of them are deleted.
You can also use Bulk actions to delete more than one page at a time.
Publish or unpublish pages in bulk
You can update the publishing settings for multiple pages on your online store at the same time using the Actions drop-down menu.
Publish pages in bulk
- Check the box next to each page that you want to publish.
- Click the Actions drop-down menu, then select Make selected pages visible.
- Optional: To display a published page in your online store navigation, add a link to it in a menu.
Unpublish pages in bulk
- Check the box next to each page that you want to unpublish from your online store.
- Click the Actions drop-down menu, then select Hide selected pages.
- Remove links to the unpublished pages from your online store navigation.