Add, remove, or edit menu items in your online store
You can add menu items to your online store menus to build your store's navigation. Menu items are links to products, collections, webpages, blog posts, policies, or other websites. You can also remove or edit menu items.
In most cases, you need to create an item before you can link to it. For example, you need to create a collection before you can add it to a menu.
If you delete a resource that you use in your store's navigation, then any associated menu items are also deleted. For example, if you delete a collection that you use for an On sale menu item, then both the collection and the menu item are deleted.
You can view and change your online store navigation from the Navigation page in your Shopify admin.
On this page
Add a menu item
You can add menu items to link to the following resources:
- webpages
- collections
- products
- blogs or blog posts
- store policies
- external websites
- email links
Steps:
Edit a menu item
When editing your menus, each action, such as add, edit, delete, and move, counts as a change. After you've hit 200 changes, further actions are restricted until you save your menu changes. Clicking or tapping the Save button resets the counter. Save your menu changes often to ensure you don't reach the change limit.
Steps:
Change the display order of menu items
You can view the display order of menu items on the Navigation page. The menu items display on your online store in the order that they're listed.
Steps:
- From your Shopify admin, go to Online Store > Navigation.
- Click the title of the menu that you want to reorder.
- Click and hold the handle icon (⠿) beside the menu item, and then drag the menu item to another position:
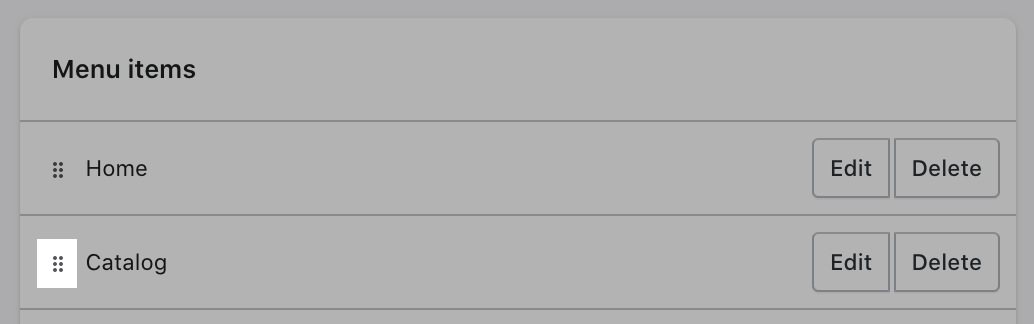
- Click Save or Save menu.
Remove a menu item
You can remove a menu item to delete it from your online store navigation. When you remove a menu item that has items nested below it in a drop-down menu, the nested menu items are also removed and the drop-down menu is removed from your online store navigation.