Getting started with a wholesale store
This tutorial guides you through setting up a wholesale store and creating an account so that you can log into it. It also describes how to create price lists and wholesale accounts, and how to sign into the store as a customer.
On this page
- Lesson 1: Create your wholesale store and sign in
- Lesson 2: As a customer, sign into the wholesale store and submit a test order
- Lesson 3: In your Shopify admin, review the wholesale draft order
- Lesson 4: Send the invoice to the test customer
- Lesson 5: Pretend to pay for the order
- Lesson 6: Pretend to fulfill the order
- Lesson 7: Tutorial clean-up
- Related Links
Lesson 1: Create your wholesale store and sign in
Add the wholesale channel to your Shopify admin. Your wholesale store is automatically created when the channel is added. It is password protected. Unlike the online store, not even the Shopify store owner can log in to it without a wholesale store account. A wholesale store account isn't the same as an online store account. A customer can't log in to your wholesale store by using their online store username and password.
-
Create a customer account and make sure that you do the following steps:
- Add a valid email address for the customer. You will send a wholesale store account invite to this email address. Later, when you process orders for this customer, you can use this email address to send them invoices.
- In the Tags section, add a tag to this customer. In a later step we'll use this tag to apply unique pricing rules to this customer, and others who have this tag.
-
- From the Wholesale channel, click Price list, and then click Create price list.
- Enter a title for the price list.
- Click Add tags and add the tag that you created earlier to the price list. This tag will connect any customer to the price list.
- Click Discount all products and enter a percentage amount by which to discount all products.
- Click Save. Your customer is now assigned to the price list.
-
To let your wholesale customers log in to your wholesale store to create their own orders, you need to invite them.
- From Wholesale, click Customers.
- In the table, select your customer account.
- Click Bulk actions, and then select Send invite from the drop-down list.
You will receive an email invitation to the wholesale store.
Lesson 2: As a customer, sign into the wholesale store and submit a test order
From your email account, open the email from the wholesale store. Follow the instructions to create an account and sign in. When you sign into your wholesale store, you will have access to all your products. Each product in your wholesale store is offered to you at the percentage discount that you specified.
While signed into your wholesale store, create a test order and submit it. For this tutorial, your wholesale store customers can submit orders, only.
Lesson 3: In your Shopify admin, review the wholesale draft order
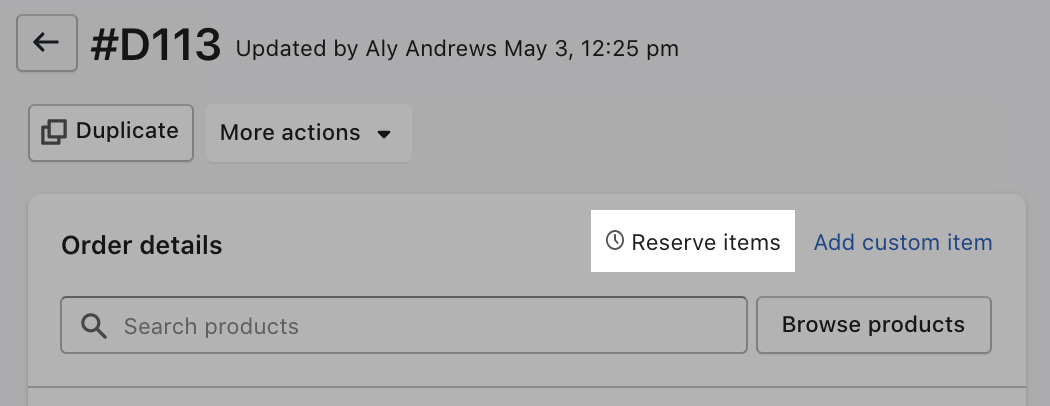
- Open the draft order from Drafts.
- Click Reserve Items to temporarily place a hold on the items listed in the draft order. Usually, a draft order involves a back and forth communication between you and your customer. Reserve the inventory to make sure that the products are available when your customer is ready to make the actual purchase:
- Click Add Shipping and enter the wholesale shipping cost. If you don't specify a value for the shipping, then by default the shipping options from your online store are offered to your wholesale customers when they review their invoice.
- Click Save.
Lesson 4: Send the invoice to the test customer
After you and your customer have agreed on the purchase, you need to send them an invoice.
To send a customer a wholesale invoice:
- Open the test order from Drafts.
- Click Send invoice.
- Click Review invoice.
- Click Send invoice.
By default, your test customer will receive an invoice that instructs them to pay using the payment provider that is set up in your Shopify admin. Since wholesale customers can prefer other payment options, you can customize the email template to offer them alternative payment options.
Lesson 5: Pretend to pay for the order
A draft order converts to an order when your customer pays. For this tutorial pretend that your test customer has paid for the order outside of Shopify. For example, they paid the full amount with a corporate account or a wire transfer.
To record the payment:
- Open the order from Drafts.
- Click Mark paid.
The draft order converts to an order that you can fulfill.
Lesson 6: Pretend to fulfill the order
Now that have an order, you can fulfill it as you would any other order.
To fulfill an order:
- Open the order from Drafts.
- Click Continue and fulfill the order as you would normally.
- After you've fulfilled the order, click Fulfilled.
Lesson 7: Tutorial clean-up
Because you created a test order and pretended that you received payment for it, this order will appear in your reports (unless you delete it).
To remove the test order from you store, delete the test order.