Connecting Hostinger domain to Shopify
On this page
Step 1: Log in to your Hostinger account
- Open a new browser tab and log in to your Hostinger account
- Navigate to Domains > Domains portfolio and click Manage for the domain that you want to connect to Shopify.
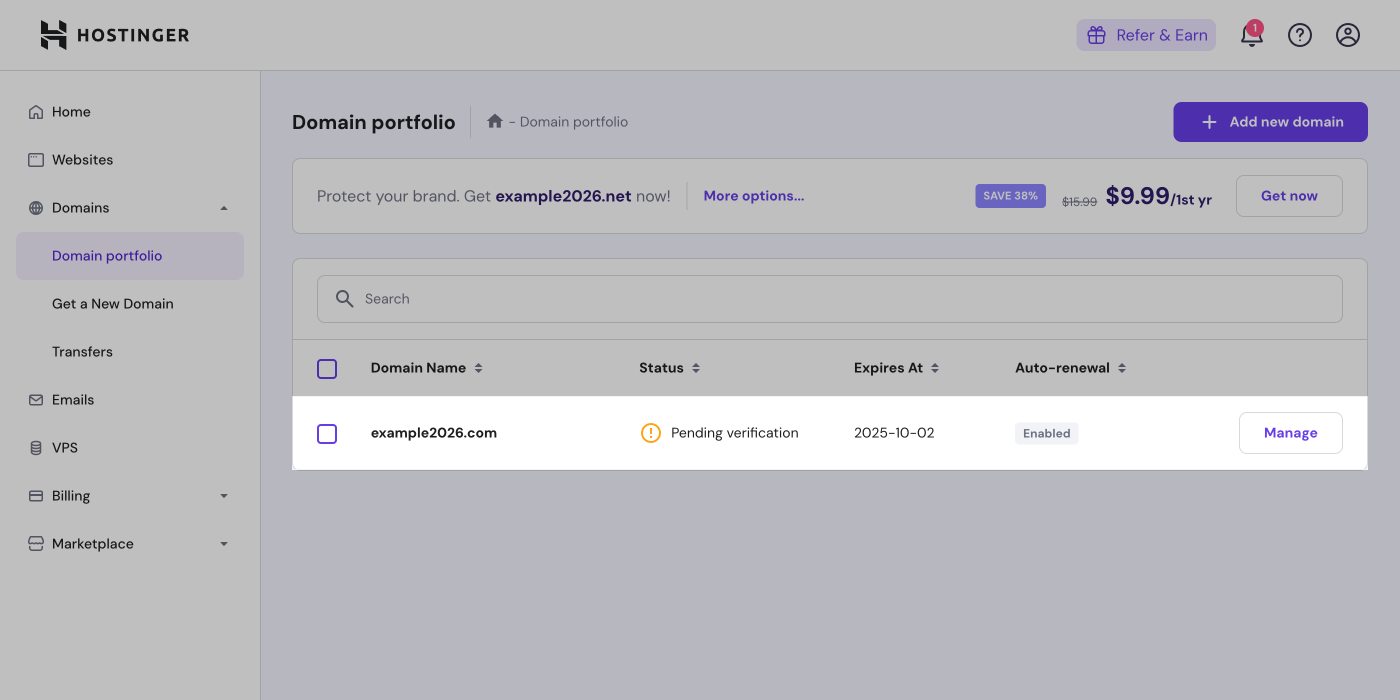
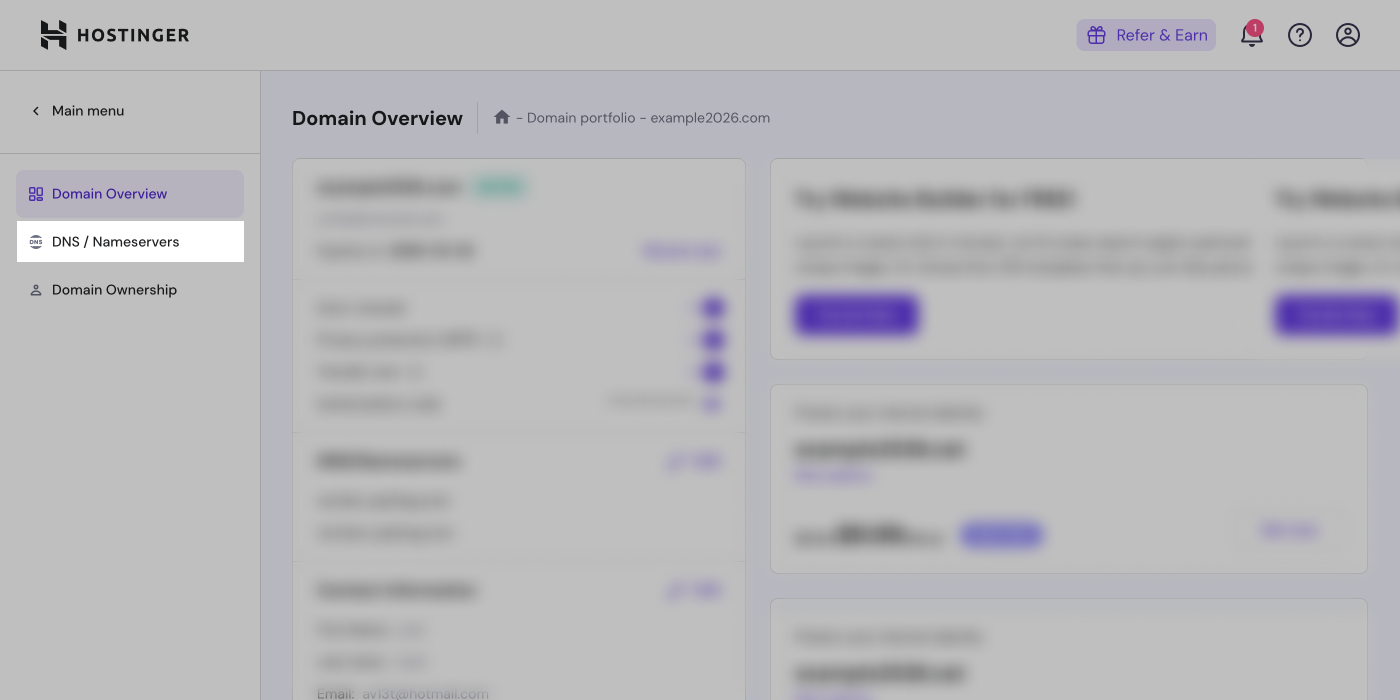
- Click DNS/Nameservers
Step 2: Update the A records
- Locate your A record and click Edit.
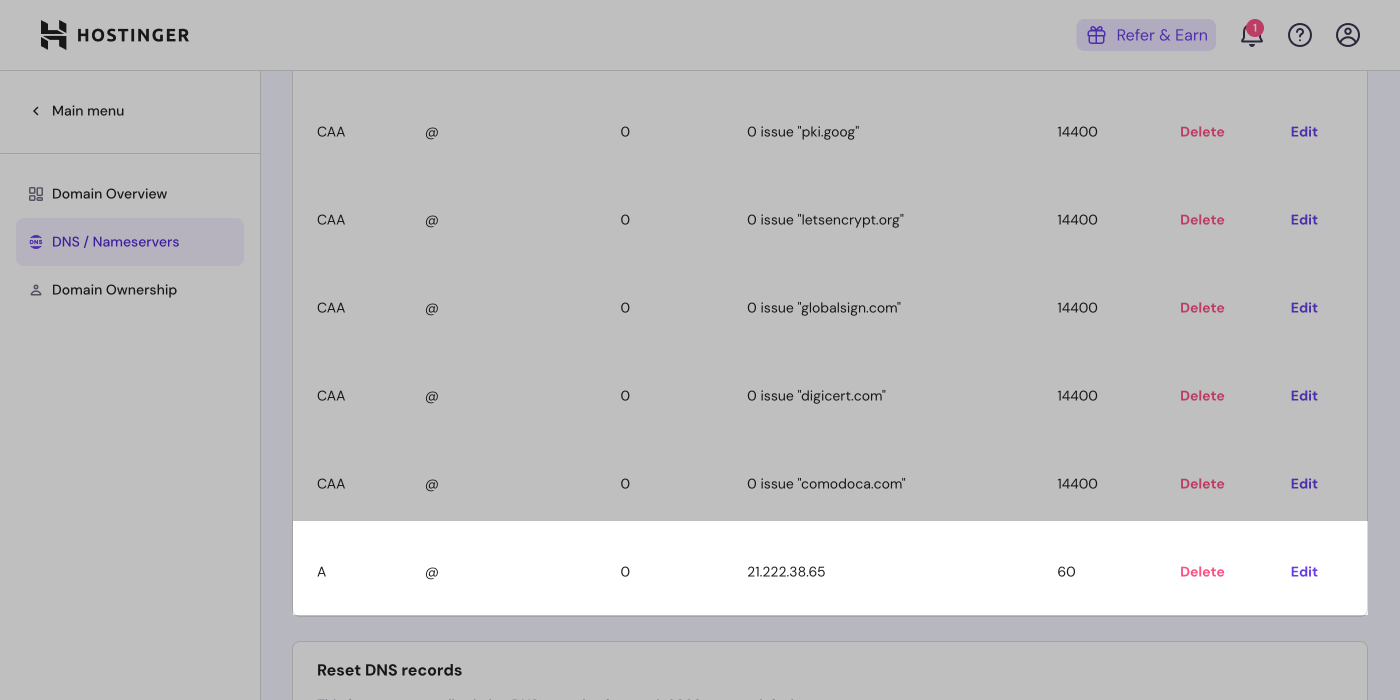
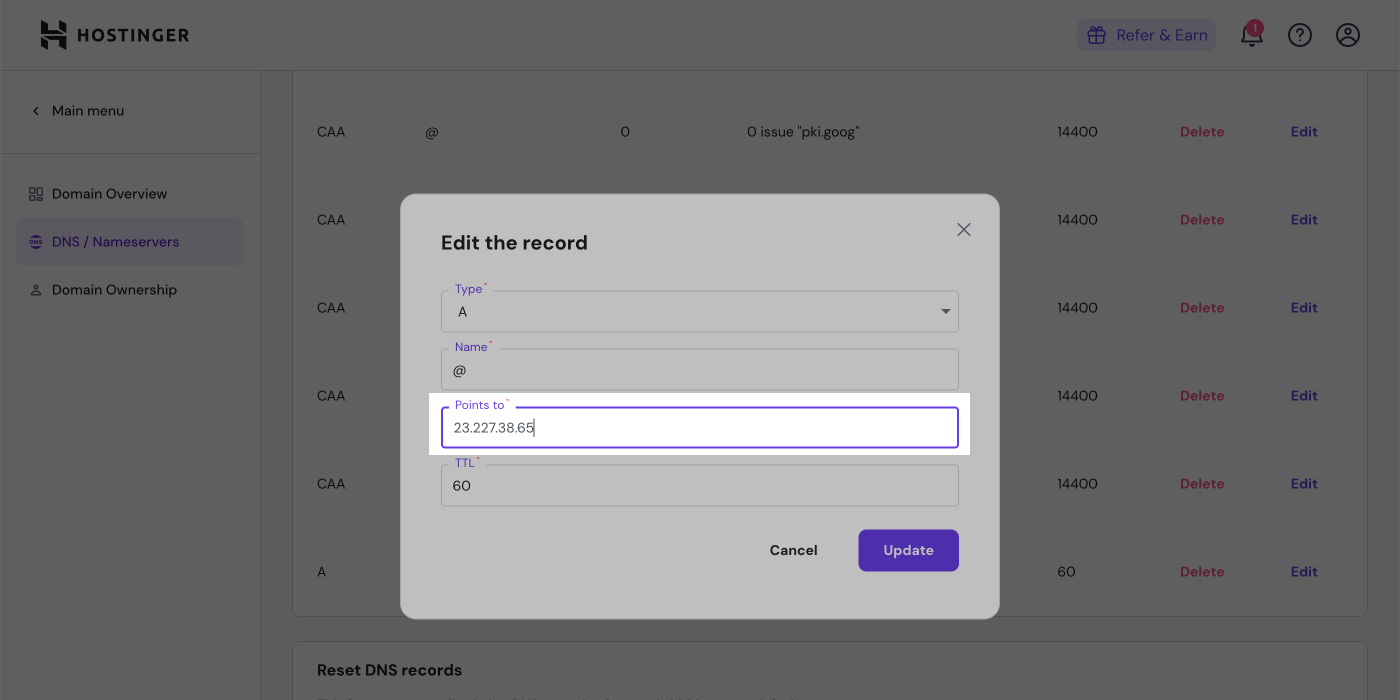
- Match the following A record to your DNS settings:
| Type | Name | Data | TTL |
|---|---|---|---|
| A | @ | 23.227.38.65 | 60 |
- When you click Update it should appear similar to this:
Step 3: Update the CNAME records
- Locate the CNAME record that has the name
wwwand click Edit
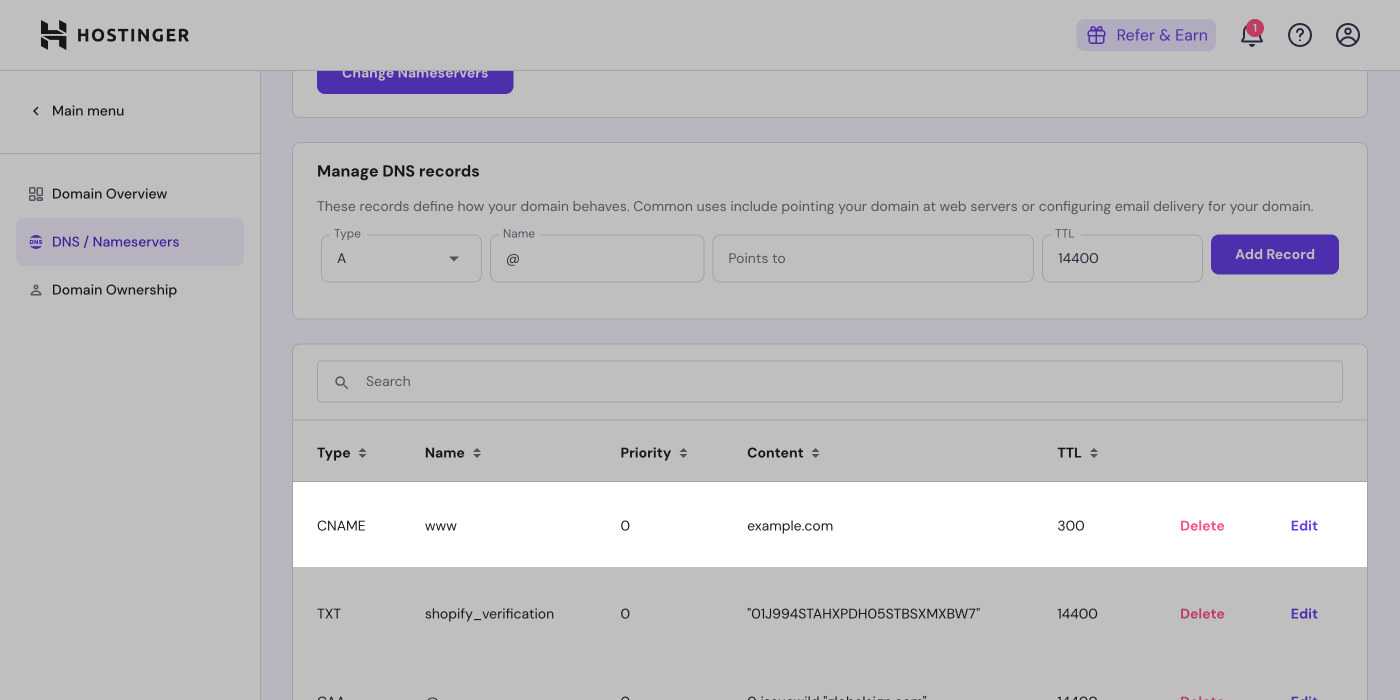
- Match the following CNAME record to your DNS settings and click Update:
| Type | Name | Priority | Data | TTL |
|---|---|---|---|---|
| CNAME | www | 0 | shops.myshopify.com | 300 |
Step 4: Update your Shopify Admin
- Next, in a new tab, go to your Shopify Admin
- Click Settings > Domains > Connect existing domain
- Insert the name of the domain that you would want to connect, and click Next
Step 5: Additional verification for your Shopify domain
- Your domain might require extra verification. This is a security feature.
- To add this TXT record, in a new tab go to hostinger.com > Domains > Domains portfolio > and click Manage for the domain you're connecting to Shopify
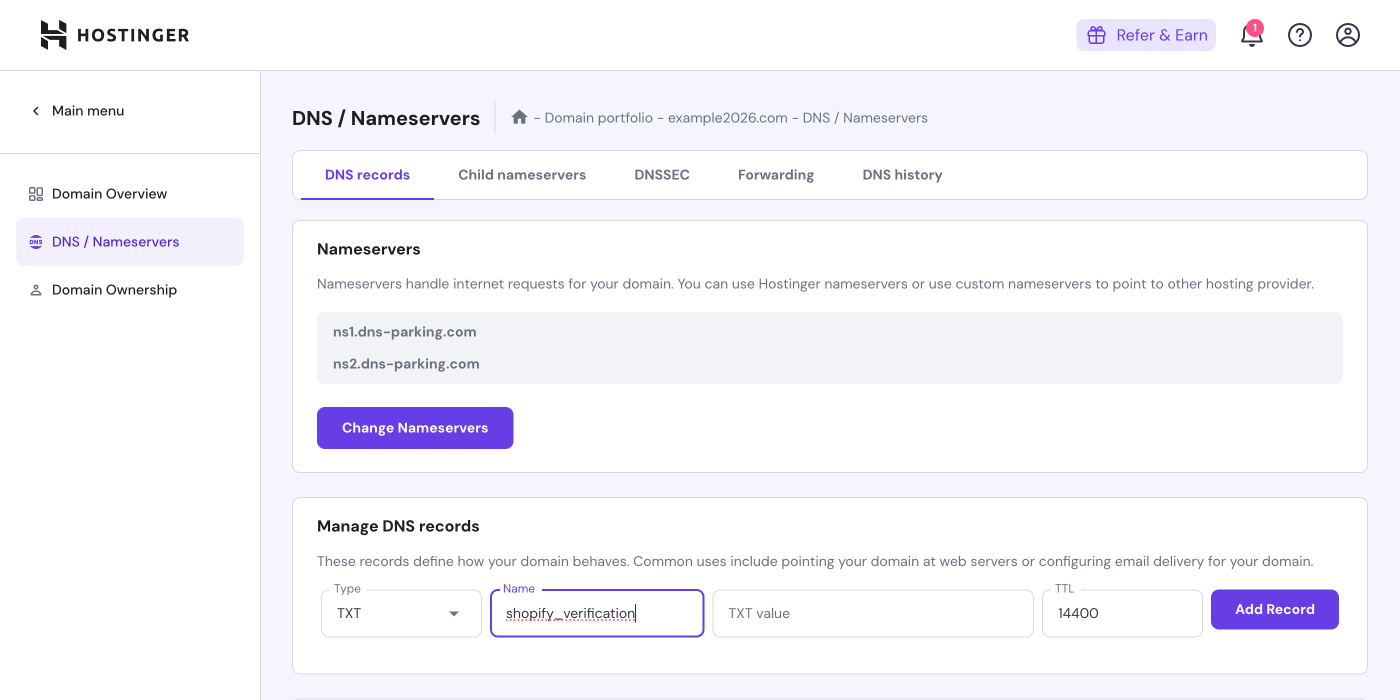
- ClickDNS/Nameservers
- In the Manage DNS records card, click the Type dropdown and select TXT
- Change the Name to
shopify_verification
- Copy the Required value from Shopify and paste it into TXT value. Click Add Record
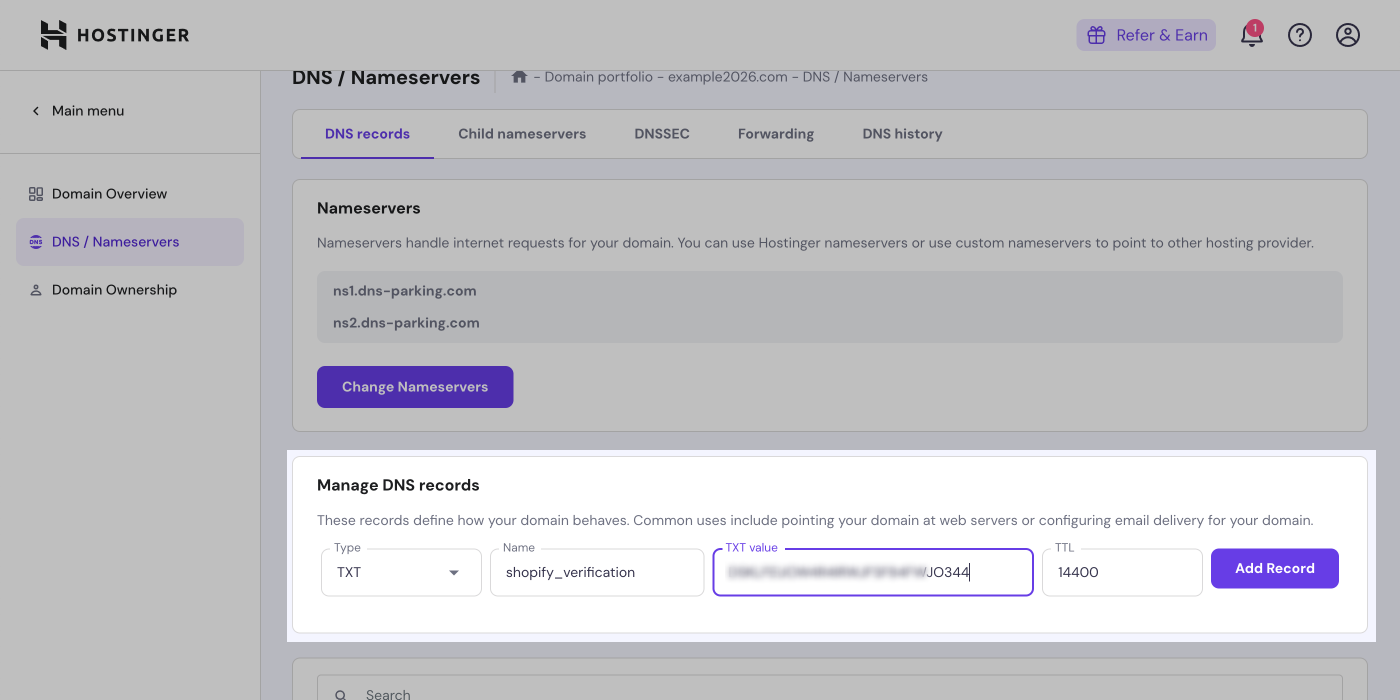
- Go back to Shopify and click the Verify connection button.
