Managing your brand assets
You can add your brand assets to the Brand settings page and use them across sales channels, themes, and apps that have integrated with the Brand API.
On this page
Brand integration
The sales channel, app, or theme determines how brand assets are used. On the Brand page, there's a list of all the sales channels and apps in your store that are integrated with Brand. Brand assets are used as a default setting, meaning after you have brand assets added, they're automatically synced with any feature that uses the Brand API.
Shopify's Online Store 2.0 themes should automatically pull your brand assets into your theme settings. If the brand assets aren't populating your theme automatically, then you might have to manually pull the assets into your theme.
To manually connect your brand assets into your theme, open the theme editor, and then open Theme settings > Logo. In the Logo section, click the Connect dynamic source button.
Select the brand asset you want to use in your header, and then click Connect.
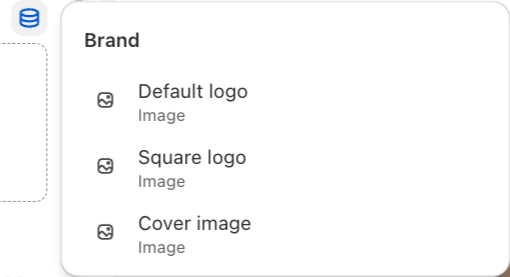
Brand assets
You can create your brand assets for free. Learn more about free tools to run your business.
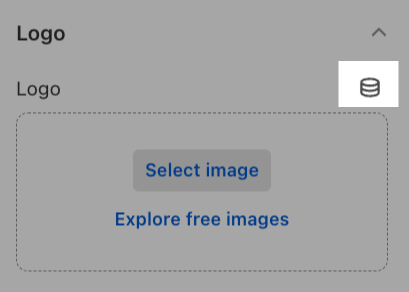
Logos
Add logo images for your brand. The default logo is used for most common logo applications. A square logo is required for social media channels and profile pictures, and might be cropped to a circle.
You can connect your logo in your theme settings to use for a header image and connect to compatible blocks. If you want to customize the logo in your checkout, then you can change your checkout settings. If you want to customize the logo for your notifications, then you can customize your email template.
Logo requirements
Before selecting or uploading your logo images, make sure your files meet the following requirements:
| Brand asset | Description | Requirements |
|---|---|---|
| Default logo | A logo that is used for most common logo applications. A good logo is synonymous with your store name and crafted from your brand's primary colors. |
|
| Square logo | A square logo is required for social media channels and profile pictures. This logo might be cropped to a circle if the platform uses circular images instead of square images. |
|
Add your logo files
- From your Shopify admin, click Settings > General.
- In the Brand assets section, click Manage.
- In the Logos section, add or select your brand logos from your images. You can Search files for a specific file name, Sort the existing images, or change the display from a List view to a Grid view with the drop-down menu. You can also Add images from your computer, or drag and drop images from another window.
- Repeat step 2 to select or add a square logo.
- Click Save.
You can change or remove your logo image files at any time. You can only have one file per logo type.
Colors
Your brand can have specific primary, secondary, and contrasting colors used on your online store or social media.
Steps:
- From your Shopify admin, click Settings > General.
- In the Brand assets section, click Manage.
- Under the Colors heading, click the + sign to add a primary color.
- You can select a primary color with the color picker, or enter a valid HEX color code in the text box.
- Optional: Add a secondary primary color in the same manner you selected the first color.
- Choose a contrasting color in the same manner you selected your previous colors.
- Repeat the above steps to select secondary colors and a contrasting secondary color.
- Click Save.
Cover image
A cover image is a key image that advertises your brand in profile pages and apps.
Cover image requirements
Before selecting or uploading a cover image, make sure your file meets the following requirements:
- File format: PNG or JPEG
- File dimensions: Recommended minimum size is 1920x1080px
Steps:
- From your Shopify admin, click Settings > General.
- In the Brand assets section, click Manage.
- In the Cover image section, click the + sign.
- Select an image to use as a cover image. You can also Search files for a specific file name, Sort the existing images, or change the display from a List view to a Grid view with the drop-down menu. You can also Add images from your computer, or drag and drop images from another window.
- Click Done.
- Click Save.
Slogan
A slogan is a catchy statement or tagline for your brand. Your slogan can be up to 80 characters long. Click the + to add your brand slogan, and then click Save.
Description
Add a short description for your brand. This description is often used in bios or listings from your store, and shouldn't exceed 150 characters in length. Click the + to add a short description for your brand, and then click Save.
Social links
If you're on the Shopify Starter plan, then you can add social links to your Brand content. Links to social media accounts added in the Brand section of your Shopify admin display in your product links.
- From your Shopify admin, click Settings > General.
- In the Brand assets section, click Manage.
- In the Social links section, select a social media platform from the drop-down menu.
- Enter the link to your account in the fields provided. Use the full URL, for example, https://instagram.com/shopify, or https://twitter.com/shopify.
- Click Save.